The ability to drag and drop modules into sections and columns in the page editor has made the process of building a HubSpot web page lightning-quick and user-friendly. But did you know that there are various shortcuts and features available in the editor that could help you work even more efficiently?
Today we’re going to explore the power of saved sections.

How they work
Let’s say I’ve built this simple two-column section using the default image and rich text HubSpot modules. I’ve formatted the text, centred the content, set the background colour, added a border to the image and put a bit of padding on the left column, to give the right column some more breathing room.
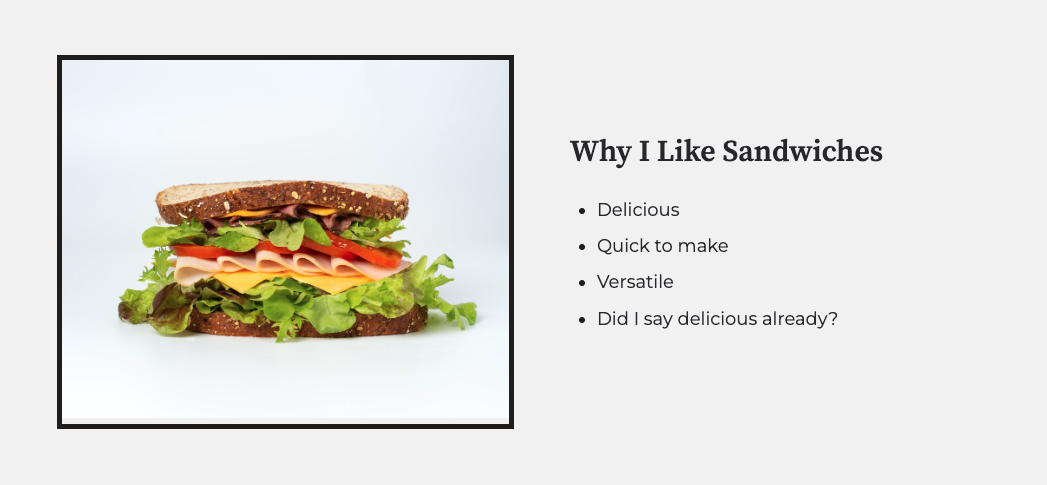
Now let's say I want to reuse that section multiple times on the page. Even though it’s a relatively simple section with only a few styling tweaks, building it out repeatedly and applying the exact same settings each time would be a laborious job and take my mind off the task at hand (thinking about why I like sandwiches).
But by using HubSpot saved sections, we can accomplish the above in a matter of mere seconds. Here’s how it’s done:
-
Hover over the section in the page editor and you will see a row of icons up in the top left. Click the drop down arrow and select “Save section”

-
You will now be prompted to give your saved section a name and description (the screenshot is generated automatically). Put in something memorable and descriptive.

-
Now that your section has been saved, hover over a position on the page where you’d like to add another of these sections and click the plus icon.

-
And there you have it! An exact duplicate of the original section. We can now edit the content of this second section knowing that all the formatting is consistent with the first.
Note that changing the content of this second section will have no impact on the original or saved section.
Populating a Page With Saved Sections
Now let’s try using the above technique to populate the rest of the page. We’ve already saved our “Image left and text right” section, so let's reverse the column order of that second section we’ve added by clicking the left image column and dragging it over to the right of the text column.
Then save this reverse-ordered section as “Text left, image right”.
Finally, drop one more of each of these saved sections into the page, change up the content within them, and we’ll have something that looks like this:

The *Real* Power of Saved Sections
For me, the most significant advantage of saved sections is the ability to save all of the content from the modules within them.
Let’s say, for example, that you’ve been working for hours populating a custom repeater module with paragraphs of text and carefully selected images and statistics. You then decide that you want to reuse this module, with all the same content, on another page of your website. The idea of copying and pasting all of this copy is far from appealing. But then you remember the “Save section” functionality.
So you save the section containing your populated custom module, go into the editor of the page you want to add it to, and click the plus icon to create a new section. And there you’ll see it, in the list of saved sections.
Saved sections aren’t just available on the page you saved them on, but available on any page of your entire website.
In Conclusion
Click less, save more.
Want to get the most out of HubSpot's CMS Hub?
If you want to make sure you're getting the most from HubSpot's CMS Hub, get in touch and we'll be happy to talk through any new requirements you have and how you can reach those goals.