HubSpot’s CRM tool helps you to easily manage data, track your existing leads and close those all-important sales - it’s no wonder you want to get started. Setting up your HubSpot CRM doesn’t have to be long winded and drawn out. In fact, it can be up and running in an afternoon if you’re organised.
First things first, have a clear plan for implementation and we'll cover the most important steps on how to get started with HubSpot CRM as quickly as possible.
- Tackle the basics beforehand
- Email integration made easy
- Importing your contact data
- Define deal stages
- Send your first email
1. Tackle the basics beforehand
To set up HubSpot CRM without a hitch, you need to make sure the basics are finalised beforehand. These little things can be done ahead of time so all that’s left to do is very minimal.
It also gets you better acquainted with the back-end of HubSpot too. Here are some quick things to do first:
- Change the language, currency and region settings to suit your preferences. The little things make the difference.
- Ensure HubSpot user permissions are correct for each user, so when it comes down to actually using the CRM, the right people have access. All you need to get going is the name and email address of each person you’d like to make a user in HubSpot.
- If you’re a Super Admin, you need to turn on GDPR in your HubSpot account settings. This is a unified place to automatically enable GDPR-compliant features throughout your HubSpot account.
Top Tip
When you tackle the basics, it’s a good idea to map out what each user will need the system for. This will help identify the correct level of access for the relevant people.
2. Email integration
Connecting your inbox to the CRM makes it possible for you to send emails from individual contact records and it unlocks a host of other features, including automatic logging of email replies.
There are two halves to the email integration: the inbox connection and the email extension.

The email extension puts CRM features inside your Google, Outlook or Office 365 inbox. This makes it simpler to look up contact records, log emails and use other tools like email templates without leaving your inbox.
What you’ll need
HubSpot needs permission to connect to your current email inbox but accounts like Gmail, Office 365 and Exchange are supported too and can be integrated just as easily.
Top Tip
Once the email integration is connected, think about creating folders. In the long-run, this will keep everything organised so that everything is in the right place and will stop any confusion.
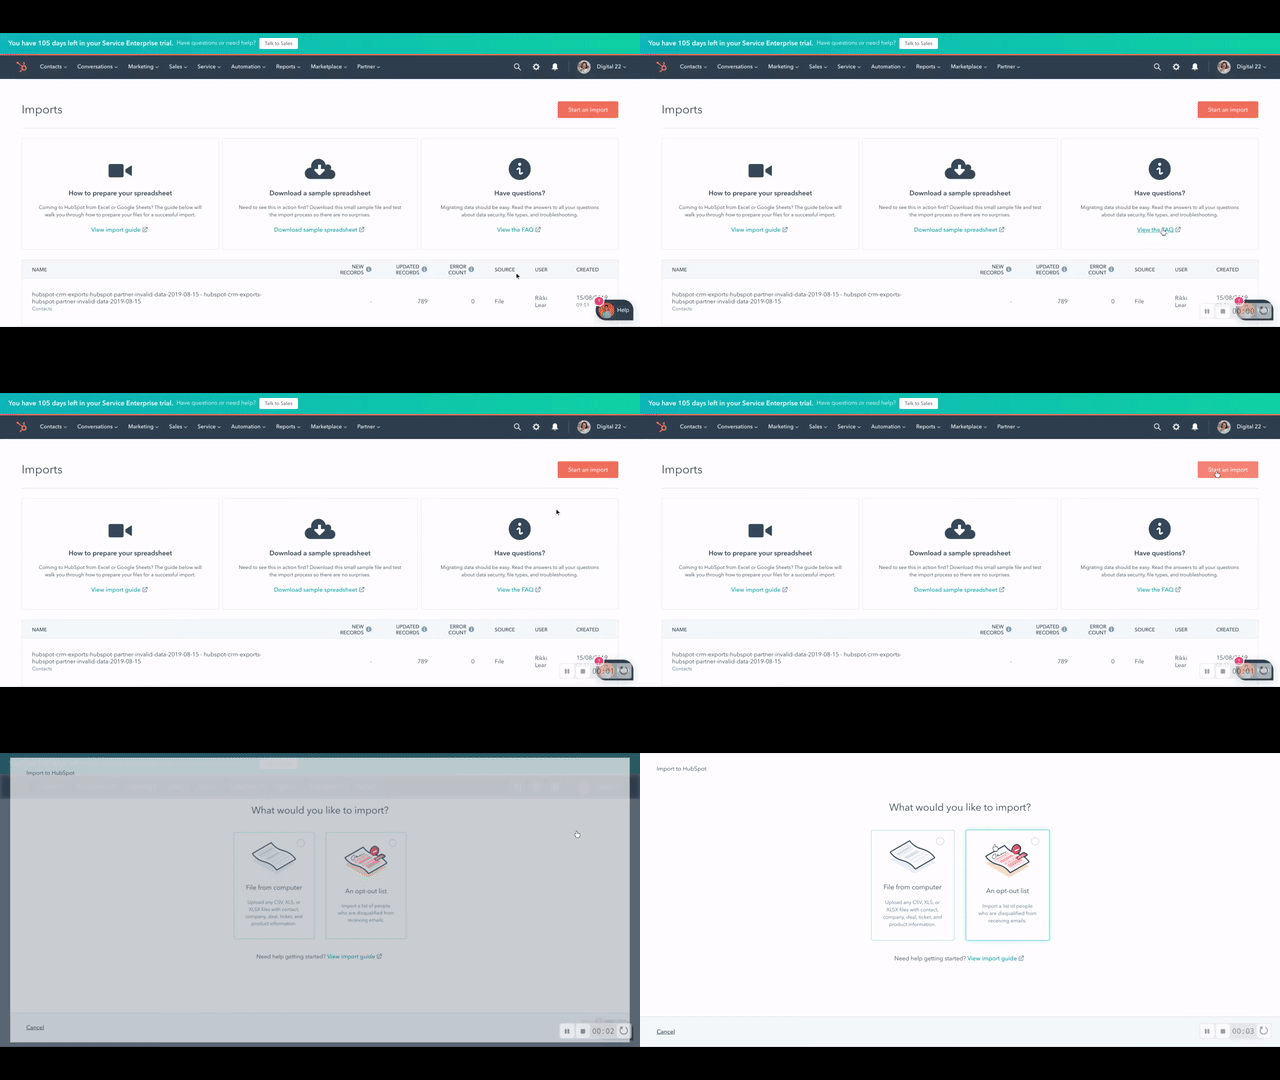
3. Importing your contact data
When importing records into HubSpot, you can create associations between two different record types, a contact and an account record.

In HubSpot, a contact is an individual person. You can only have one email address per contact and it’s mostly used for sales. However, an account record is a company contact and inside that record, you can have multiple contacts with their email addresses.
What you’ll need
Make sure all of your important contact information is in a CSV file. The sooner you get these leads into HubSpot, the better, as you get access to the useful CRM tools. Ultimately, changing the way you collate data and engage with prospects.
You’ll need to organise this data in an actionable way, so creating filters is advised to segment and identity contacts. Instead of fussing, if you’ve only been using the email integration, you’ll be able to quickly filter your contacts based on the emails you’ve been sending and receiving. Which is a quicker way to get set up and tailor it later.
HubSpot will automatically remove duplicate contacts from your list, which is another thing you don’t have to worry about.
Top Tip
When importing your contacts database, make sure you have your ‘Do Not Email’ or ‘Opt Out’ list available beforehand too. This is a list of people who have unsubscribed from your email communications, ensuring you’re GDPR compliant.
4. Define deal stages
As you guide people through your sales process, deal stages will help you keep track of a prospect’s progress.
Deal stages are the steps in your pipeline that signify to your sales team that there’s progress towards closing a deal. Keeping track of your deals’ progress in your sales pipeline gives you a more detailed picture of your projected revenue for a given time.
What you’ll need
It’s best practice to customise deal stages to match your sales process. This helps to align everybody's process in the business and it also makes it easier for other team members to check in on the progress of the sales pipeline.
These stages can be established before actually implementing HubSpot CRM.
Top Tip
By default, HubSpot includes a sales pipeline with seven deal stages:
- Appointment scheduled (20%)
- Qualified to buy (40%)
- Presentation scheduled (60%)
- Decision maker bought-in (80%)
- Contract sent (90%)
- Closed won (100% Won)
- Closed lost (0% Lost)
This is a great place to get started and build from in the future but there are lots of other important sales pipeline stages you need to know about.
5. Send your first email
There are two main avenues when it comes to creating an email template. There’s the drag and drop editor to set up basic yet effective templates or you can enlist the help of your design and development team to create fancy custom templates.
But for the sake of time, templates are the way to go.
What you’ll need
In your HubSpot account, navigate to Marketing > Email and click create email. Then, simply choose a template based on the type of email you want to create.
Each email created with a template is clean and responsive on any email and device type. You can access customisable elements like images, text fields and buttons. It’s simple enough for a beginner to experiment with and it won’t take up your whole afternoon.
This method is easier but, of course, has its limitations.
Top Tip
An email doesn’t have to be fancy and custom to make an impact. There are ways you can entice the recipient further with brilliant personalisation and relevance to their buyer’s journey.
Now you know how to get started with HubSpot CRM quickly, you can learn about how to set up the rest of the marketing and sales software to work for you and your business needs. Whether you need to get onboard with the rapid growth of chatbots or simply want to add your socials to your HubSpot, we have it covered.
Need some help setting up the rest of HubSpot?
Getting started with HubSpot might seem like a task you just don’t have time for. However, this user-friendly platform is simple - once all the right settings are figured out.
That’s why we created our complete guide to setting up HubSpot. So you can make sure everything is correct and working like it should be to bring in valuable analytics and results. Download your guide below.


