Gathering information about potential and existing customers plays a key role in inbound sales and marketing, especially for B2B companies. It’s essential for companies to continuously offer valuable and relevant content to help both potential and existing customers. However, keeping track of all the information about all the different customers can be a challenge, making it difficult to create segmented relevant content for your leads. That’s where HubSpot Forms comes in.
HubSpot houses a tool that enables you to practically and easily manage your forms, which help you convert your visitors into organic leads as well as collect valuable information in an intelligent way. In this blog post, I’ll be giving you an introduction to HubSpot Forms and providing some insight on how you can use it to populate your CRM with leads from your
website.
Overview:
- What is HubSpot Forms?
- What features does HubSpot Forms offer?
- 7 tips for creating a great form
- An example of a HubSpot form
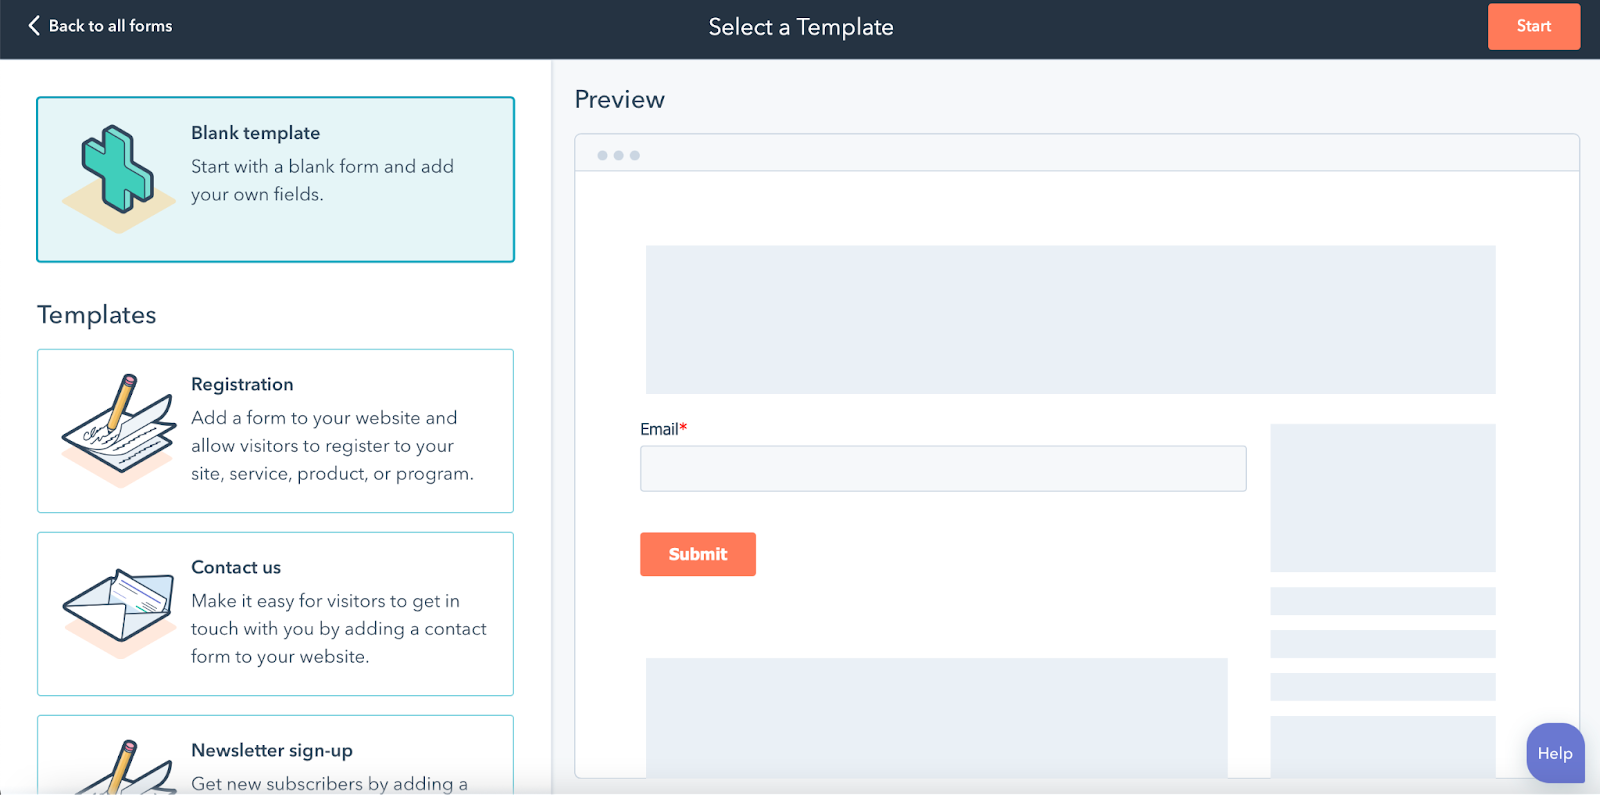
- HubSpot Forms templates
What is HubSpot Forms?
On the one hand, HubSpot Forms is simply an online form creation tool in HubSpot. On the other, it’s so much more than that. HubSpot Forms is an intelligent way to capture contact information from your inbound efforts. With this tool, you can quickly add forms to your website, whether it was created in HubSpot or not.
You might have already set up common and static forms in your CMS system, or perhaps they came from a third-party provider such as MailChimp. Either way, this type of form does nothing more than collect new leads. HubSpot Forms works more intelligently because it’s plugged directly into your CRM. In fact, with HubSpot Forms, you get features that not only collect data, but also enhance it with new information along the way.
When you make changes to a form in HubSpot, those changes are reflected everywhere the form is used. This frees you from a lot of manual work, which gives you back more time.
What features does HubSpot Forms offer?
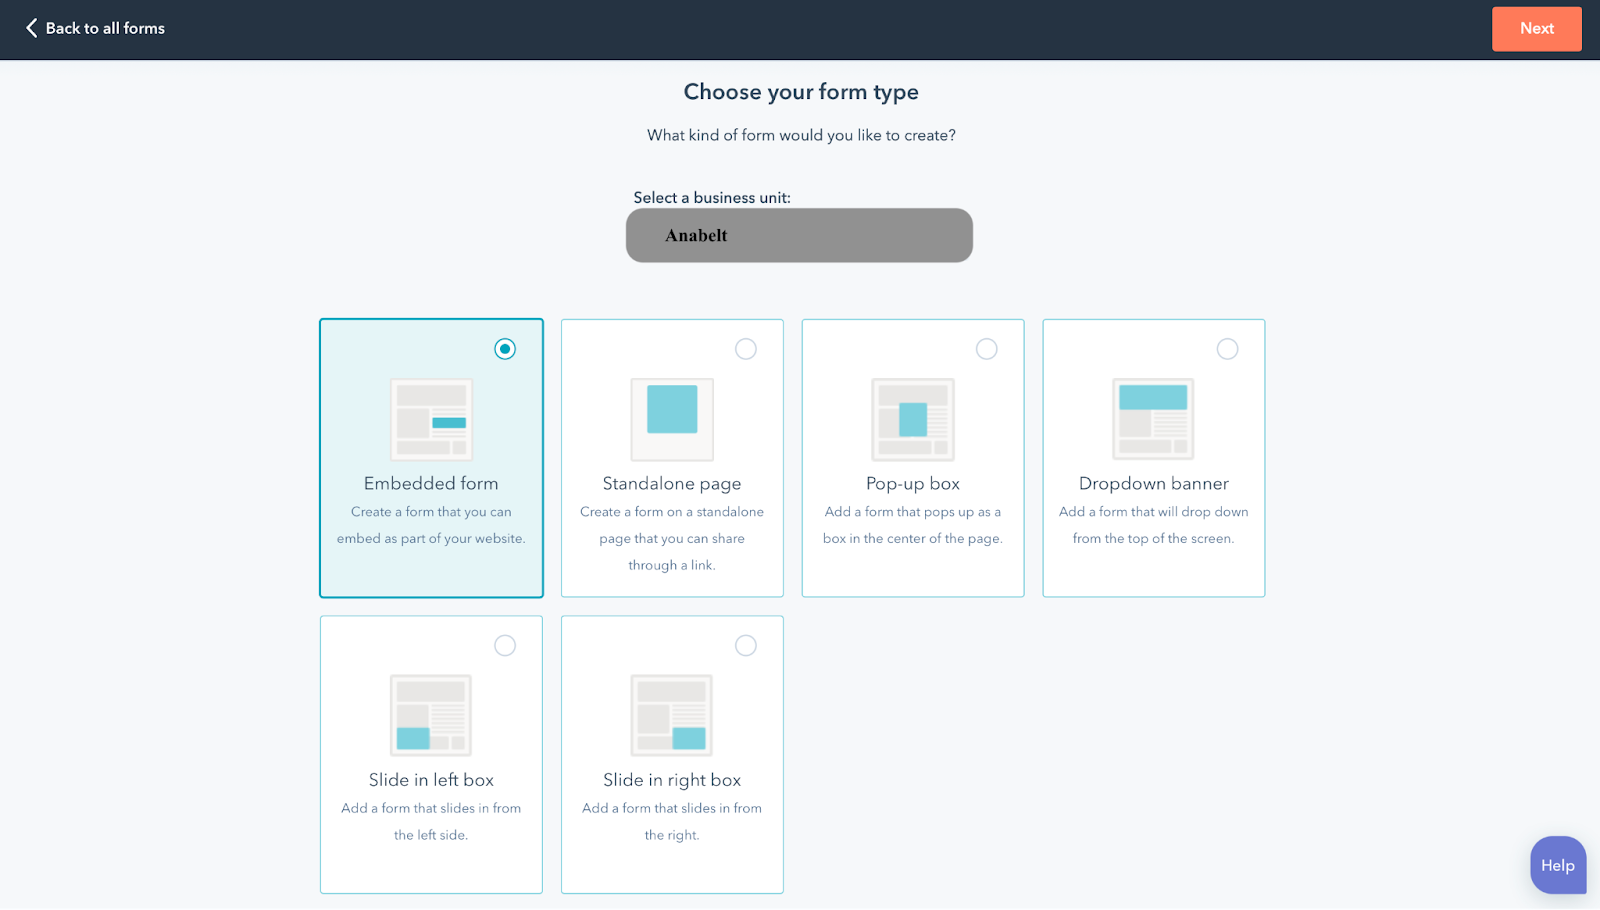
With HubSpot Forms, you can easily choose whether you want your form to act as a pop-up that appears when various criteria (that you define) are met. So, if a visitor is reading an article, you can set your pop-up form to appear after they’ve been reading for more than a minimum of 7 seconds. You can also choose to put the form on specific pages of your website, where it might be appropriate to offer the visitor a particular piece of content – on a product page, for example.
The forms module in HubSpot offers a wide range of templates you can build on, such as contact forms, survey forms, registration forms, and so on. You can design the forms to suit your own needs by adding fields you find necessary. By designing the form yourself, you can tailor them so that they appear differently for existing customers, unknowns, or even competitors.

This is possible with the smart feature HubSpot calls progressive profiling. Available with HubSpot Professional and Enterprise, this feature allows you to queue up form fields to avoid asking the same thing twice, thereby gaining more information about existing contacts. You do this by using the same form in multiple places.
For example, if you offer e-books, guides and webinars to a user at the beginning of the customer journey, you can use the same form in all places. Then, make sure your workflows are triggered by the contact filling out the form on a specific landing page, so contacts receive the content they requested. You can therefore enrich the data in your CRM with more and more data over time without putting off the contact due by asking for too much information at once.
Let’s say you already know the name and company of someone about to enter their contact information into your HubSpot form – there’s no need to ask for it again. In this case, it’s better to ask for some new and more relevant information, like job title or the number of employees in their company, so you can learn more about your existing or potential customer. This way, you boost your CRM with new information and make it easier to segment and prioritise your work.
All form fields are linked directly to properties in HubSpot’s CRM. Properties are the data fields in your CRM where all the information about contacts, companies and deals is stored. This means all information from your form automatically goes into the right fields in your CRM, simply and painlessly.
To further ensure the data quality in the CRM, you can define a validation of the user’s input. For example, that the field may only contain numbers, or that it must consist of a defined number of characters (e.g. for phone numbers). You can also create your property/form field as a dropdown, so you safeguard against misspellings or different spellings. For example, if a field – Country – is freeform (as it is by default), “Denmark” can be written in many ways: “Danmark”, “Denmark”, “DK”, “Tanska”, and so on. By offering only a limited number of options, you ensure your data is consistent across the board, so you can easily segment out all Danes if you want to send a Danish email, for example, without having to account for spelling variations.
You can also add a help text pop-up to each field to guide the user to fill in all the fields.
Tips for creating a great form
When designing your form, it’s important to always keep user experience in mind, as it plays the key role in whether or not the form will be completed. You can make your form easy and user-friendly by limiting the number of fields and only asking for key information. For example, don’t ask for a direct phone number if it’s the first time a user is filling in a form to access an e-book – you run the risk that most people won’t find it valuable enough to share their number at this stage.
A good rule of thumb here is always to offer a little more than you ask for. In a sign-up form for your newsletter, don’t ask about annual turnover in the business. But if you offer an hour of free business development consultation, that may be reasonable and relevant enough.
Place the fields in a single column and arrange the questions from easiest to hardest to make it as manageable as possible for the user to get started with the form. Here, you can even enable autofill and validation of input as it further helps the user to fill in the fields quickly and correctly.
In addition, you can add some help text pop-ups that describe what the user should type in the field, but more importantly, what you want to use the information for. The user should at no time be in doubt about these things.
Finally, always keep the mobile experience in mind, as the form may look different from your website.
Summed up, it comes down to these 7 tips:
- Be simple and straightforward in what you ask
- Always offer a little more than you ask for
- Use only one column
- Arrange your form fields from easiest to hardest
- Enable autocomplete and input validation
- Address users’ potential concerns with help texts
- Keep the mobile experience in mind
Example of a HubSpot form
Let’s imagine a fictional company we call Anabelt. They offer online courses and workshops to educators across different countries. Their purpose in using HubSpot Forms is to generate leads by getting website visitors to sign up for some free mini courses. Over time, they will get more and more data about their customers so they can send relevant offers for their paid courses and workshops.
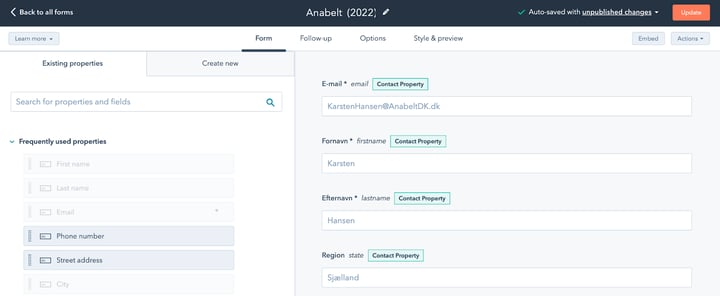
Anabelt has used the same form on all landing pages with sign up for these free mini courses. Here, they have chosen to add the fields: email, first name, last name and region.
To make sure they continuously learn more about their contacts, they have chosen to use the Queued progressive fields tool, which allows new questions to be queued. Here, anyone who has previously signed up for one of their mini courses (and who is recognised via HubSpot’s cookie) will be asked a series of new questions each time they sign up for a new online event.
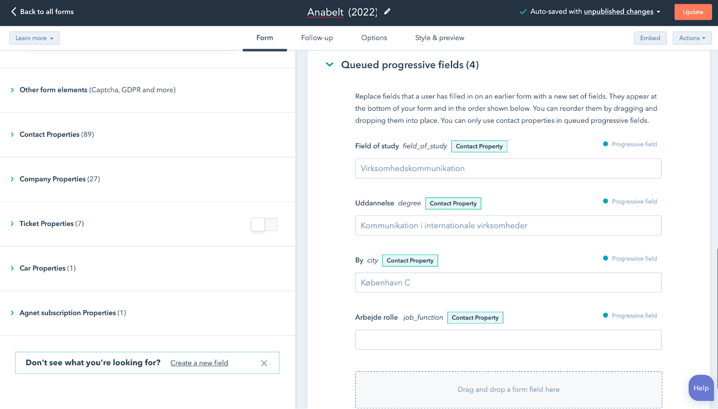
This way, Anabelt’s CRM is constantly updated with new information about their contacts, making it easier to send segmented content more relevant to them. By doing so, they can ensure their contacts receive exactly the content they want to read and learn more about, which also makes it easier for Anabelt to help them in the end. Finally, they’ve made sure once users fill out the form, they’re redirected to a Thank You Page where they have the opportunity to engage with similar content. This way, their customers can always continue their journey on the website.
Do you want to know more about HubSpot and how it works? Download our guide The Marketing Managers’ Guide to HubSpot where you’ll learn more about smart features and if HubSpot is the right platform for your company.

